

Zeroing a thermal scope is easier than most hunters think — but doing it wrong can cost you a clean shot and wasted ammo. Unlike traditional riflescopes, thermal scopes detect heat rather than light, which means standard paper targets often do not work. You need the right target, the right distance, and the right technique. In this guide, we walk you through exactly how to zero a thermal scope in five simple steps, with pro tips to get you sighted in fast and hitting dead center before your next hunt.
What You Need to Zero a Thermal Scope
Before heading to the range, gather the following equipment. Missing even one item can turn a 20-minute job into a frustrating afternoon.
- Thermal scope — mounted securely on your rifle with proper eye relief
- Thermal target or heat source — see options below
- Sandbags or shooting rest — stability is critical for accurate groups
- Screwdriver or adjustment tool — for windage and elevation turrets
- 20–40 rounds of ammunition — the exact load you will hunt with
- Laser bore sight (optional) — saves ammo by getting you on paper faster
Step 1: Choose the Right Target for Thermal Zeroing
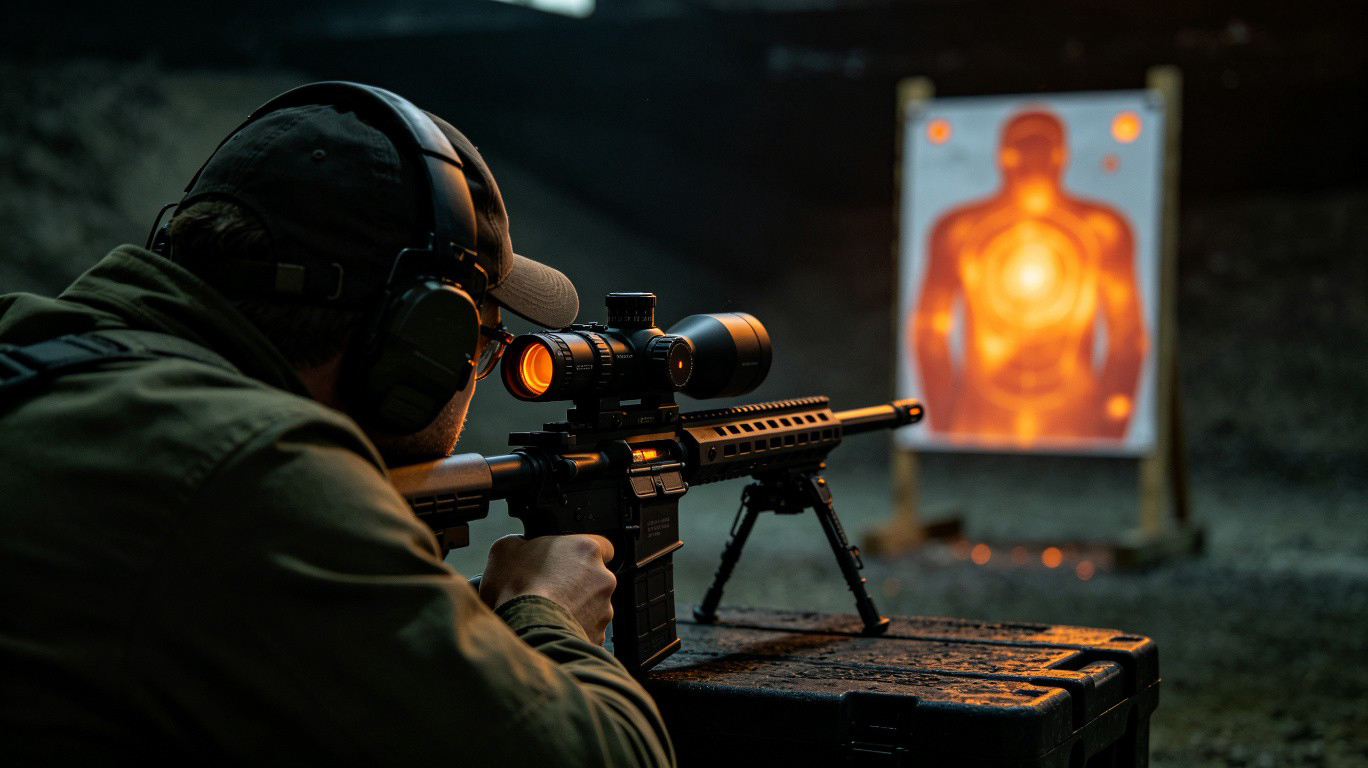
Standard paper targets are invisible to thermal scopes. You need a target that produces a heat signature. Here are the three best options, ranked by effectiveness:
Standard paper targets are invisible to thermal scopes. You need a target that produces a heat signature. Here are the three best options, ranked by effectiveness:
Option A: Commercial Thermal Targets (Best)
Specialty thermal targets reflect or emit heat and show up clearly through a thermal scope. Brands like Thor Target and Thermal Target Systems offer reusable boards that heat unevenly, creating high-contrast aiming points. These give you the most precise zero.
Option B: Hand Warmers or Heat Packs (Good)
Affordable and widely available. Tape disposable hand warmers to a cardboard backer in a cross pattern or place one in the center. They produce a bright heat signature for 4–6 hours. Use fresh warmers for each session to ensure consistent brightness.
Option C: Aluminum Foil on Foam Board (Budget)
Cut aluminum foil into 2-inch squares and tape them to a foam board. Place the board in direct sunlight for 10–15 minutes before shooting. The foil heats faster than the foam, creating a visible contrast through your thermal scope. This method works best on sunny days.
Step 2: Bore Sight Your Rifle First
Insert Laser Bore Sighter
Place the bore sighter in your chamber or muzzle. Align the laser dot with your thermal scope reticle at 25 yards. This gets your first shots on paper and saves significant ammunition.
Bore sighting gets your first shots on target and saves significant ammo. If you have a laser bore sighter, insert it into your rifle's chamber or muzzle and align the laser dot with your thermal scope's reticle at 25 yards. If you do not have a laser bore sighter, remove your bolt (on bolt-action rifles) and visually align the bore with your target, then adjust the thermal scope to match.
For Picatinny-mounted thermal scopes like the Owlshine OWS-300, ensure the rail mount is tight and level before bore sighting. A loose mount will throw off every shot regardless of how carefully you zero.
Step 3: Shoot Your First Group at 50 Yards
Fire a 3-Shot Group
Start at 50 yards — not 100. Thermal scopes often have lower magnification, and starting closer ensures you hit the target. Fire 3 shots and mark the center of your group.
Start at 50 yards — not 100. Thermal scopes often have lower magnification than day optics, and starting closer ensures you hit the target and can identify your point of impact.
- Set up a stable rest. Eliminate as much shooter error as possible.
- Fire 3 shots at the center of your thermal target.
- Let the barrel cool for 2–3 minutes between groups if possible.
- Mark or note the exact center of your 3-shot group.
Do not chase individual shots. Always adjust based on the center of your group, not where one stray bullet landed.
Pro Tip: Use the "Freeze" Function
Many modern thermal scopes, including the OWS-300, offer a freeze-frame or picture-in-picture mode. Activate this feature before making adjustments. It locks the reticle in place while you move the windage and elevation dials, preventing accidental shifts.
Step 4: Adjust Windage and Elevation
Dial in Your Zero
Use your scope turrets to move the point of impact to the center of the target. Most scopes adjust in 0.5 MOA clicks. Follow the arrows on the turret — if your group is low, dial up.
Most thermal scopes use turret adjustments measured in Minutes of Angle (MOA) or milliradians (MIL). One MOA equals approximately 1.047 inches at 100 yards — roughly 0.5 inches at 50 yards. Check your scope's manual to confirm its click value (commonly 0.5 MOA, 1 MOA, or 0.1 MIL per click).
Calculate Your Adjustment
Suppose your 3-shot group at 50 yards is 2 inches low and 1.5 inches right of center. If your scope adjusts in 0.5 MOA clicks:
- Elevation: 2 inches low ÷ 0.5 inches per click (at 50 yards) = 4 clicks up
- Windage: 1.5 inches right ÷ 0.5 inches per click = 3 clicks left
After adjusting, fire another 3-shot group. Repeat this process until your group centers on the target. Most hunters achieve a solid 50-yard zero in 2–4 groups (9–15 rounds).
Step 5: Confirm Your Zero at 100 Yards
Confirm at Distance
Once centered at 50 yards, move to 100 yards and fire a confirming group. Make minor adjustments. A 100-yard zero gives you a practical point-blank range out to 200 yards.
Once you are centered at 50 yards, move your target to 100 yards and fire a confirming group. Your point of impact may shift slightly at longer distance due to bullet drop and parallax. Make minor adjustments as needed.
For predator and hog hunting with common calibers like .223 Rem, .308 Win, or 6.5 Creedmoor, a 100-yard zero is ideal. Your bullet will stay within 2 inches of your line of sight from the muzzle out to approximately 200 yards — covering the vast majority of night hunting engagements.
Pro Tip: Record Your Zero Settings
Take a photo of your turret positions or write down your final windage and elevation values. If you remove your thermal scope for transport or swap it between rifles, you can return to your exact zero quickly without starting from scratch.
Common Mistakes When Zeroing a Thermal Scope
Even experienced shooters make these errors. Avoid them and you will zero faster and more accurately.
Mistake 1: Using the Wrong Ammunition
Always zero with the exact ammunition you will hunt with. Different bullet weights, velocities, and manufacturers produce different points of impact. A zero established with 55-grain FMJ will not hold with 77-grain hunting rounds.
Mistake 2: Loose Mounts
A thermal scope that shifts under recoil will never hold zero. Use a quality Picatinny mount, torque screws to the manufacturer's spec (usually 15–20 in-lbs), and apply threadlocker to prevent loosening. The OWS-300 mounts directly to standard Picatinny rails without adapters, reducing failure points.
Mistake 3: Zeroing in Extreme Heat or Cold
Thermal scopes can drift slightly with extreme temperature changes. If possible, zero in conditions close to what you expect during your hunt. If you zero at 80°F and hunt at 20°F, verify your zero before opening night.
Mistake 4: Rushing the Process
Thermal scopes reward patience. Wait for the barrel to cool between groups. Re-check your rest stability. Rushed zeroing leads to chasing your shots and wasting ammunition.
How Often Should You Re-Zero?
A properly mounted thermal scope should hold zero indefinitely under normal use. Re-zero in these situations:
- After removing and remounting the scope
- After a hard drop or impact
- When switching to different ammunition
- At the start of each hunting season (recommended)
- After extreme temperature exposure
FAQ: Zeroing a Thermal Scope
Yes. Thermal scopes work in daylight because they detect heat, not visible light. Use a thermal target or heat source as described above. Many hunters actually prefer daytime zeroing because they can see their equipment and targets more easily.
For most hunting applications, zero at 100 yards. Start at 50 yards to get on target quickly, then confirm and fine-tune at 100. This gives you a practical point-blank range out to 200 yards for common rifle calibers.
With proper bore sighting, most hunters zero a thermal scope in 9–15 rounds (3–5 groups of 3 shots). Without bore sighting, expect to use 15–25 rounds. Starting at 50 yards instead of 100 saves significant ammunition.
Yes. Thermal scopes use solid-state sensors with no moving parts or fragile image intensifier tubes. They are far more resistant to recoil, drops, and rough field handling than night vision scopes. A quality thermal scope on a tight mount will hold zero through thousands of rounds.
No. Each rifle has unique barrel harmonics, bedding, and mount geometry. A thermal scope zeroed on one rifle will not transfer to another. If you plan to use one thermal scope on multiple rifles, invest in a quick-detach mount and record zero settings for each platform.
Ready to Zero? Start with a Scope You Can Trust
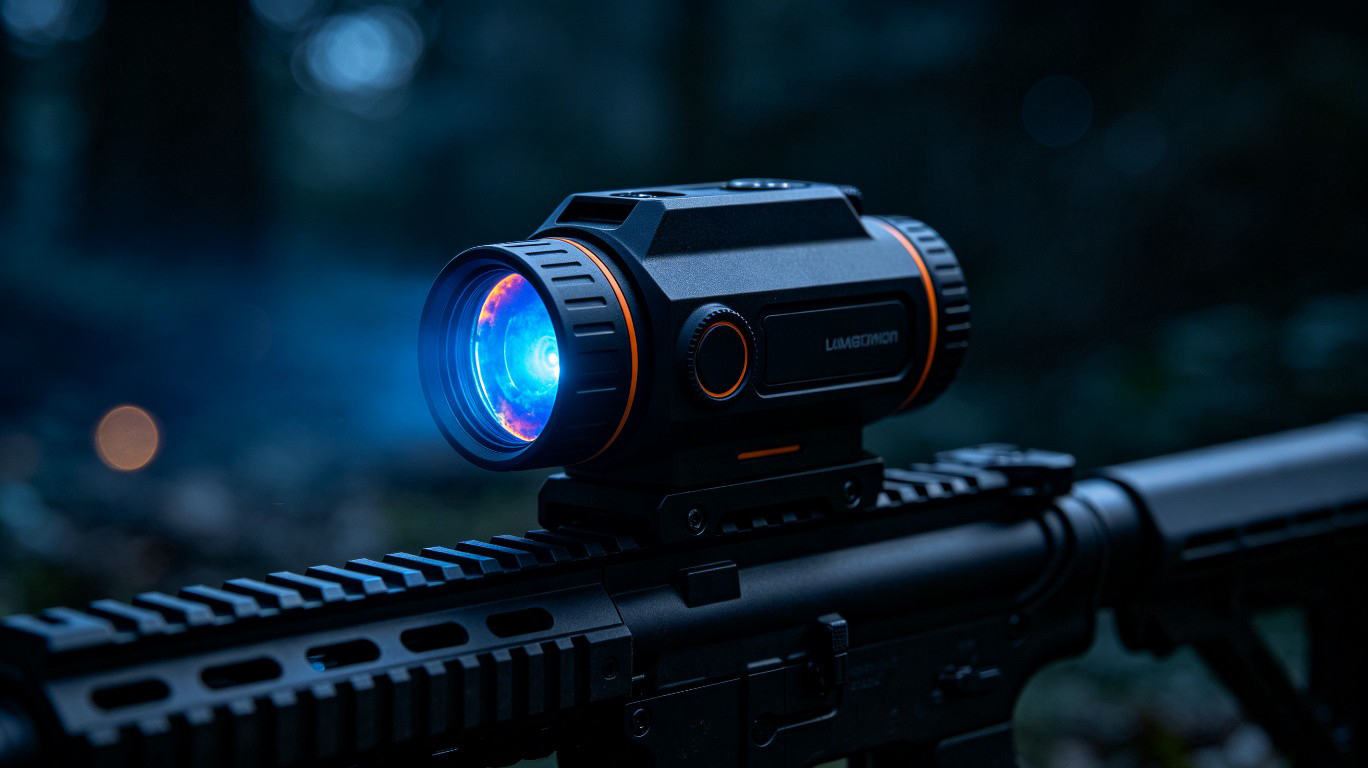
Knowing how to zero a thermal scope is only half the battle. You also need a scope built to hold that zero through recoil, weather, and hard field use. The Owlshine OWS-300 features rock-solid Picatinny mounting, intuitive turret adjustments, and a 50Hz refresh rate that keeps your reticle crisp and responsive while you dial in your shot.
At $330, it is the most reliable way to get into thermal hunting without breaking your budget — or your zero.
Get On Target Tonight
The OWS-300 is built for hunters who demand precision. Mount it, zero it, and start stacking game after dark.
Shop the OWS-300 →Related Articles:
How to Choose a Thermal Imaging Camera: Complete Buyer's Guide
Thermal vs Night Vision: Which Is Better for Hunting?
Best Budget Thermal Scope for Coyote Hunting in 2026