

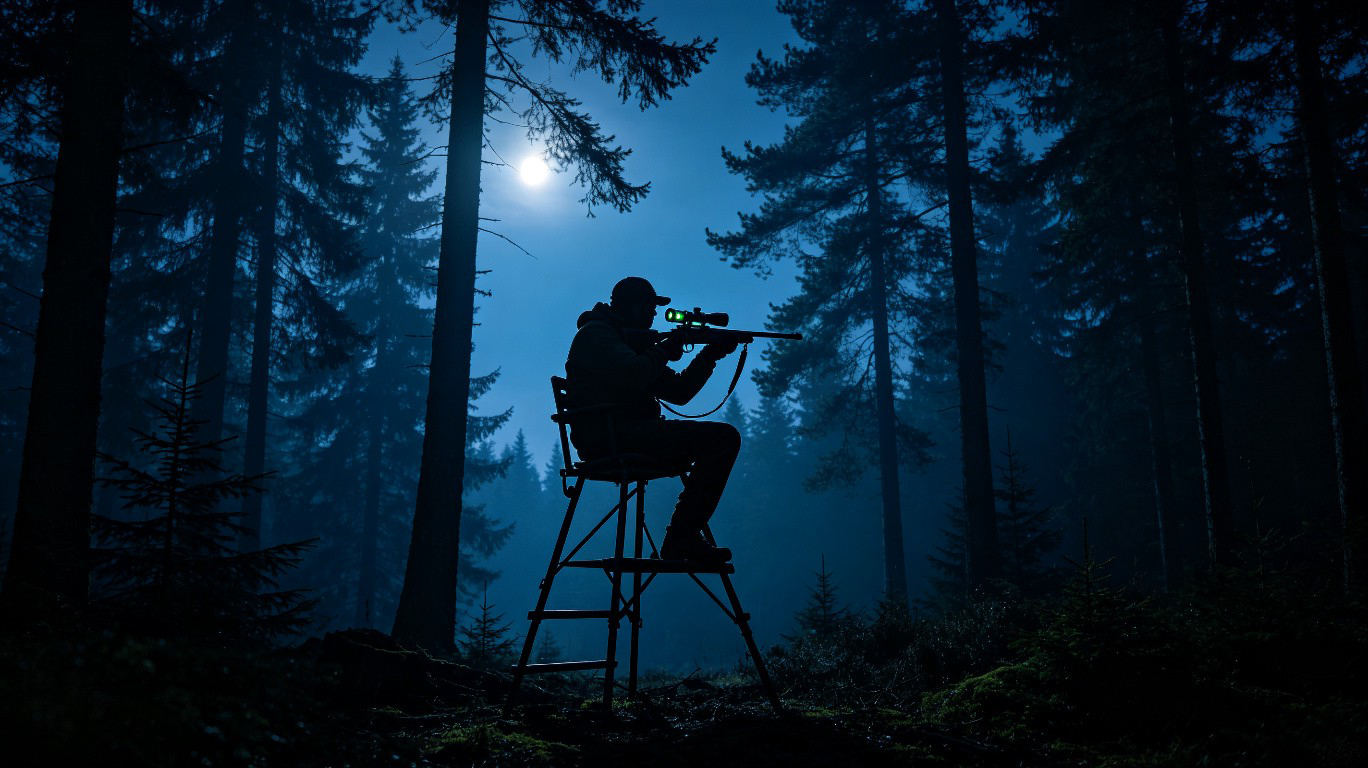
What Is Thermal Imaging for Hunting?
Think of a thermal imaging scope as a camera that sees heat instead of light. Every living creature — deer, fox, wild boar, even the rabbit hiding in the thicket — naturally emits body heat as infrared radiation. A thermal scope detects that invisible heat energy and converts it into a visible picture, typically displayed in bright whites, vivid colours, or high-contrast palettes that make animals practically glow against their cooler surroundings.
Unlike your naked eye — which relies on ambient light from the moon, stars, or a torch — a thermal scope works in total darkness. It doesn't need any external light source at all. That means it performs just as well at 2 a.m. on an overcast night as it does at twilight. For European hunters dealing with long winter nights, dense woodland, and unpredictable weather, this is nothing short of revolutionary.
But Wait — Isn't That the Same as Night Vision?
It's a common misconception, but thermal imaging and night vision are fundamentally different technologies. Here's the key distinction:
| Feature | Thermal Imaging | Night Vision (Image Intensifier) |
|---|---|---|
| How it works | Detects heat (infrared radiation) | Amplifies existing ambient light |
| Works in total darkness? | Yes — needs zero light | No — requires some light (moon, stars, IR illuminator) |
| Sees through fog/rain/brush? | Yes — heat passes through light obscurants | No — needs a clear line of sight |
| Shows animal detail? | Heat silhouette, not fine detail | Shows visual detail (face, antlers, fur pattern) |
| Best for | Detecting and tracking game in any condition | Identifying species and judging trophy quality |
Night vision is brilliant when you need to identify exactly what animal you're looking at — counting antler points on a stag, for instance. But for spotting and tracking game in challenging conditions — darkness, fog, rain, dense cover — thermal imaging is overwhelmingly the better choice. That's why most experienced European hunters carry both, with thermal as their primary detection tool.
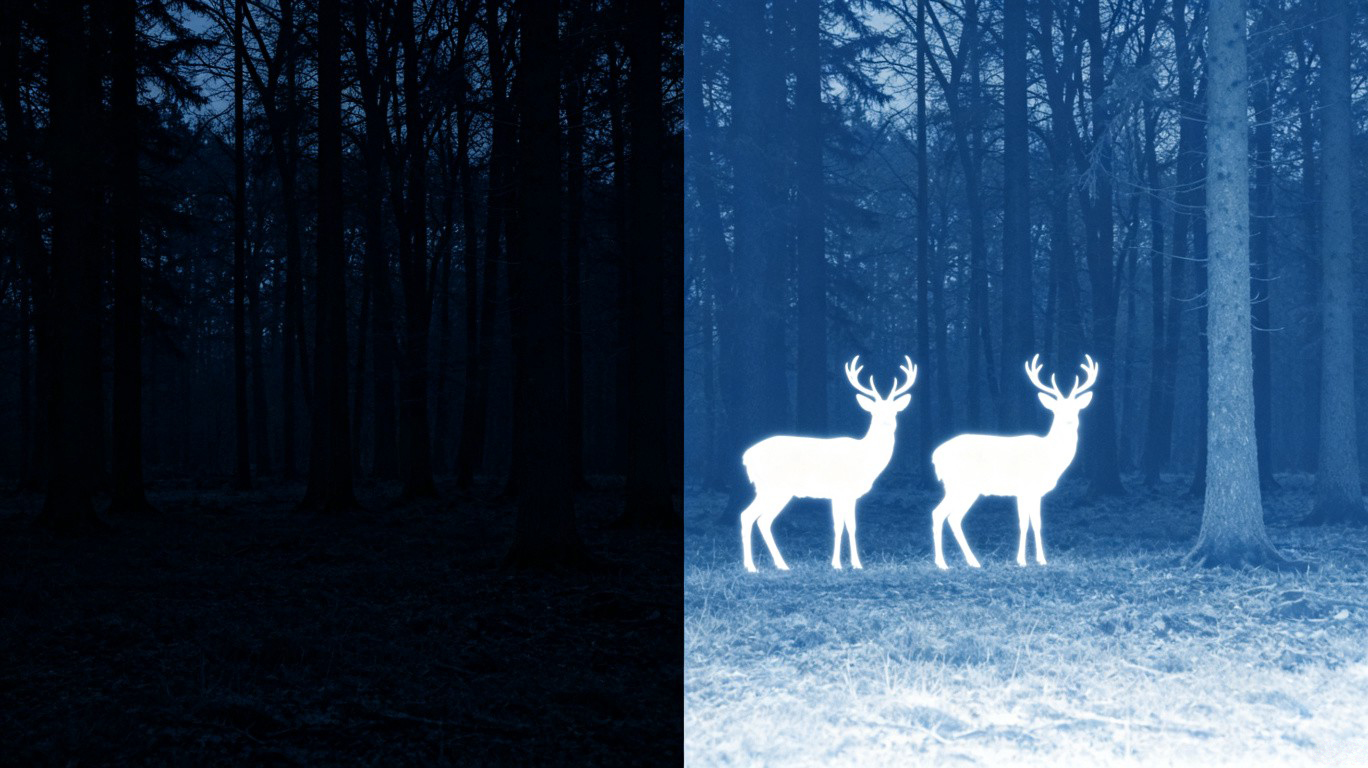
Figure 1: What you see vs. what your thermal scope sees — the difference is night and day
How Does a Thermal Hunting Scope Work?
The technology behind a thermal scope sounds complex, but the basic principle is surprisingly simple. Here's how it works in three straightforward steps:
The Lens Captures Infrared Radiation
Every object with a temperature above absolute zero (-273°C) emits infrared radiation. A warm-blooded animal like a deer emits significantly more than the cold ground, a frozen tree trunk, or a rock. The germanium lens at the front of your thermal scope collects this invisible infrared energy and focuses it onto the detector — much like a camera lens focuses visible light onto a sensor. Unlike glass, germanium is transparent to infrared wavelengths, which is why thermal lenses feel distinctly different from regular camera optics.
The Detector Converts Heat into an Electrical Signal
The focused infrared energy hits a tiny grid of thousands — or even hundreds of thousands — of microscopic pixels on the detector (called a microbolometer). Each pixel absorbs the infrared energy and warms up slightly. The amount of warming changes the pixel's electrical resistance, creating a tiny electrical signal. Pixels receiving more heat (from a warm animal) produce a stronger signal, while pixels receiving less heat (from cold background) produce a weaker one. This is the moment where invisible heat becomes measurable data.
The Processor Creates a Visible Thermal Image
The electrical signals from every pixel are sent to an image processor, which translates the intensity values into colours or brightness levels you can see on the scope's display. A common palette is White Hot — hotter objects (like animals) appear bright white, while cooler surroundings appear dark grey or black. Other palettes like Red Hot, Rainbow, or Iron offer different contrast options depending on the environment. The entire process happens in real time, typically at 30 or 50 frames per second, giving you smooth, live video as you sweep the scope across the landscape.
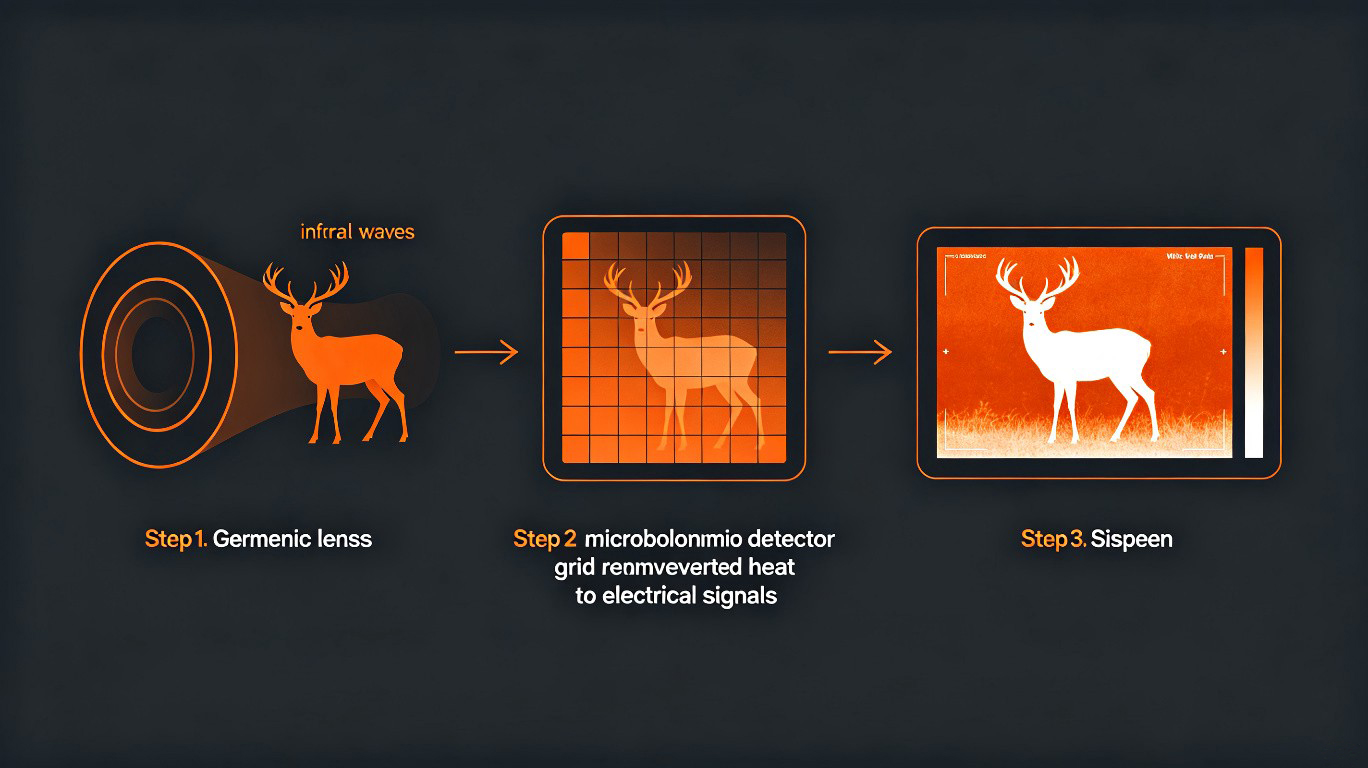
Figure 2: How a thermal hunting scope works — three simple steps from heat to image
Think of it this way: if a regular camera captures light, a thermal scope captures temperature. The hotter the object, the brighter it appears. It's that simple.
Key Terms Every Hunter Should Know
Shopping for your first thermal hunting scope can feel like reading a foreign language. Here's a plain-English glossary of the seven most important terms you'll encounter — and what they actually mean for your time in the field.
| Term | What It Means | Why It Matters for Hunting |
|---|---|---|
| Resolution (384x288, 640x512) | Number of pixels on the sensor. Like megapixels on a phone camera. | Higher resolution = sharper image, better detail at long range. 640x512 is ideal; 384x288 fine for closer ranges. |
| NETD (mK) | Noise Equivalent Temperature Difference — the smallest temp change the sensor can detect. | Lower = more sensitive. Look for <40mK for better performance in mild weather. |
| Detection Range | Max distance to detect a man-sized heat source. | Useful for comparing models, but real-world range depends on animal size and weather. Take marketing numbers with a grain of salt. |
| Refresh Rate (Hz) | How many times per second the image updates. | Higher = smoother when scanning or tracking. Always choose 30Hz+ for hunting. |
| Lens Focal Length (mm) | The magnification power of the front lens. | 19-25mm for woodland; 35-50mm for open fields. |
| Field of View | How much landscape you see through the scope at once. | Wider is better in dense woodland; narrower for open terrain. |
| Colour Palette | Colour scheme for displaying thermal data. | Most hunters default to White Hot for general use. |
Pro Tip: Don't obsess over a single spec. A thermal scope with a great sensor but a cheap display or sluggish refresh rate will disappoint in the field. Look for a balanced combination of all these factors.
Thermal Imaging vs Night Vision: Which Is Better for Hunting?
This is probably the most debated question among hunters considering their first night optics purchase. The honest answer? Neither is universally "better" — they excel at different things.
The Core Difference in One Sentence
Thermal imaging detects heat; night vision amplifies light. That single distinction drives every advantage and disadvantage of each technology.
When Thermal Imaging Wins
Total Darkness
On moonless, overcast nights, thermal sees perfectly while night vision sees nothing
Adverse Weather
Fog, rain, and mist scatter light but infrared passes through
Dense Vegetation
Detects heat through light brush and foliage that blocks night vision
Hidden Animals
Bedded deer or boar in cover revealed by their heat signature
When Night Vision Wins
- Animal identification: Need to count antler points or confirm species? Night vision shows actual visual detail
- Navigation: Walking through terrain at night is easier when you see branches, rocks, and trails naturally
- Closer-range shooting: Within 100 metres, night vision often provides a clearer sight picture
- Lower cost: Entry-level digital night vision is significantly cheaper than entry-level thermal
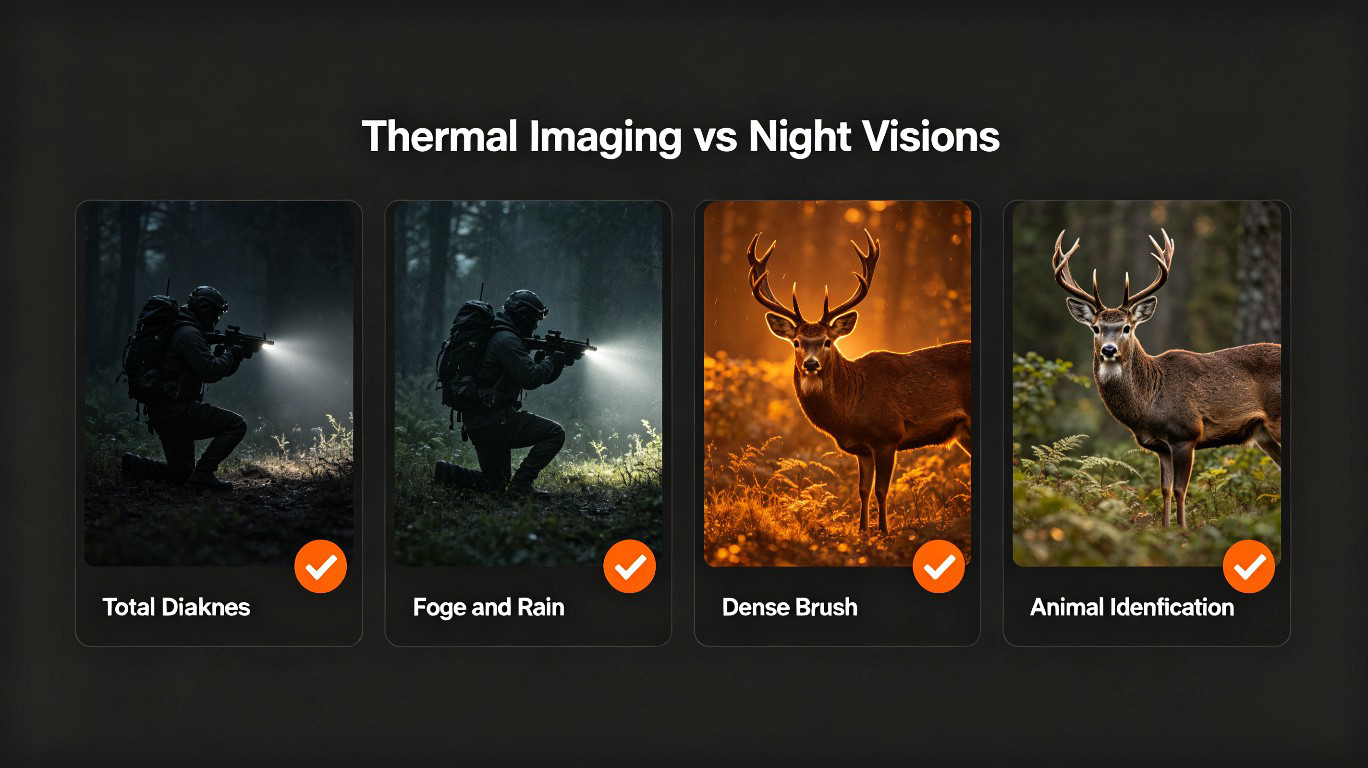
Figure 3: Thermal vs Night Vision — which technology wins in each hunting scenario
What Most European Hunters Do
The growing trend among serious European hunters is to own both — using a thermal monocular or scope as the primary detection tool and switching to night vision for final target identification before taking the shot. For beginners on a budget, start with thermal — it's the bigger game changer and will transform your night hunting success rate more dramatically.
Top Hunting Scenarios Where Thermal Imaging Shines
Understanding the technology is one thing — seeing it in action is another. Here are the three most common European hunting scenarios where a thermal imaging scope gives you a decisive advantage.
Night Predator Hunting: Fox & Wild Boar
Across Europe — from the Scottish Highlands to the forests of Eastern Poland — predator hunting is one of the fastest-growing segments. Foxes are primarily nocturnal and notoriously difficult to spot. Wild boar, increasingly common across Germany, France, Spain, and Italy, feed almost exclusively after dark.
With a thermal scope, you can scan open fields, forest edges, and crop margins from a high seat, instantly detecting any predator's heat signature. Many hunters report that thermal has tripled or quadrupled their success rate on night predator shoots. The advantage is especially dramatic in winter, when the cold ground creates high thermal contrast.
Dawn & Dusk Ambush Hunting
The "golden hours" around dawn and dusk are prime hunting times. But visibility changes rapidly, and animals appear from unexpected directions in the half-light. A thermal scope handles transitional conditions flawlessly — it doesn't care whether it's fully dark, twilight, or first light.
For high-seat hunters who sit from pre-dawn through the first hours of daylight, thermal lets you begin scanning effectively from the moment you climb into your seat, adding 30-45 minutes of productive hunting time to every session.
Tracking Wounded Game
Perhaps the most underappreciated application of thermal imaging for hunting is blood tracking. A thermal scope can detect the heat signature of a wounded animal's body even when bedded down in thick cover where a visual search would fail.
In many European countries, ethical hunting regulations require hunters to make every reasonable effort to recover wounded game. Thermal imaging makes this responsibility far more achievable, reducing the number of animals lost to poor recovery.
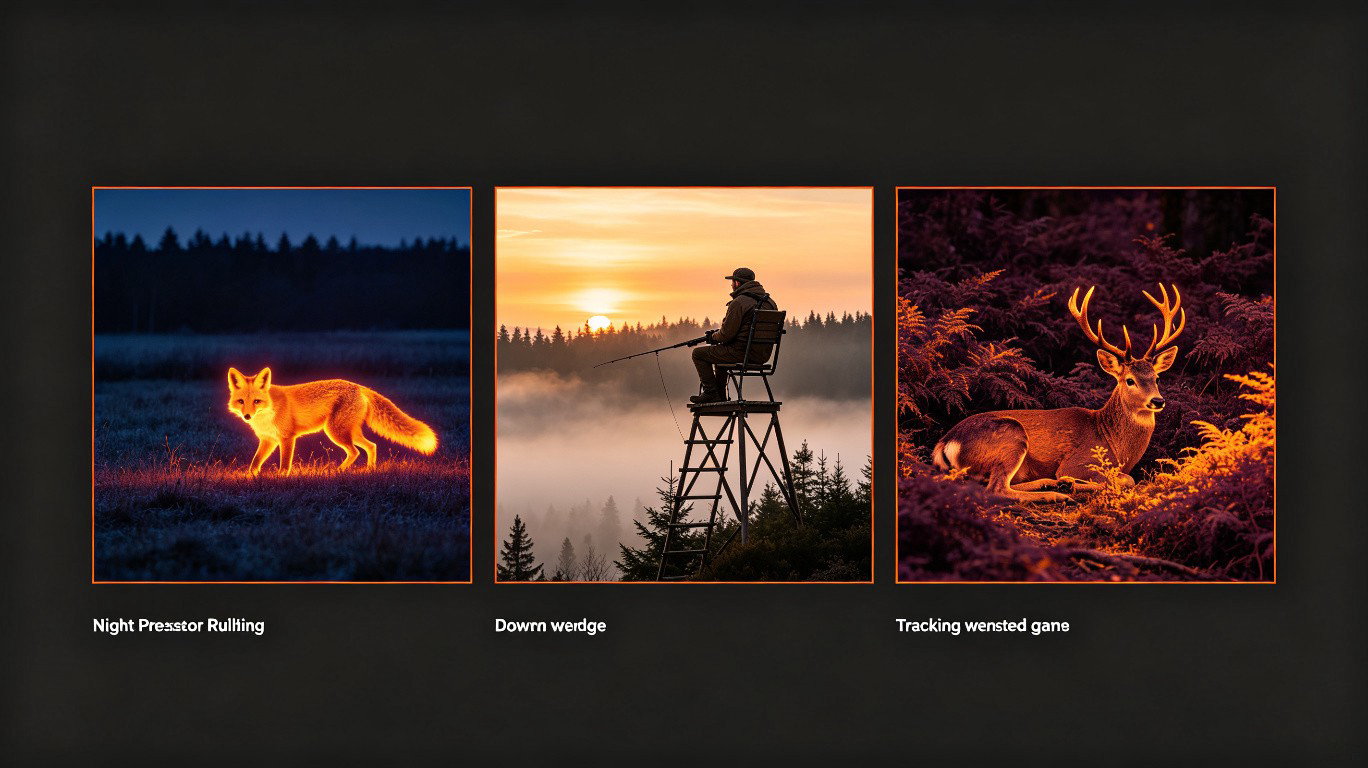
Figure 4: Three European hunting scenarios where thermal imaging gives you the edge
How to Choose Your First Thermal Hunting Scope
Ready to take the plunge? Here's a practical, no-nonsense guide to selecting the right thermal scope — without overspending or falling for marketing hype.
1. Set a Realistic Budget
Thermal scopes range from around €500 to €5,000+. For a first-time buyer, a solid entry-level scope in the €500–€1,500 range will deliver genuinely useful performance for woodland and close-range hunting. Don't assume the most expensive option is always the best — many mid-range scopes offer 90% of the performance at half the price.
2. Match Resolution to Your Hunting Terrain
- 384x288 resolution: Perfect for woodland, thick cover, and detection up to 200-300 metres. Best value for most European hunters.
- 640x512 resolution: Ideal for open terrain and longer detection ranges of 400-600+ metres. Worth the upgrade for open country.
3. Choose the Right Lens for Your Environment
- Short lens (19-25mm): Wide field of view for scanning woodland. Best for close- and medium-range.
- Long lens (35-50mm): More magnification and longer range. Best for open fields and hillsides.
Many modern thermal scopes offer digital zoom in addition to the optical lens, giving you flexibility on the fly.
4. Check Battery Life
A thermal scope that dies mid-hunt is dead weight. Look for at least 4-6 hours of continuous use. Some models offer hot-swappable battery packs — a feature well worth having on all-night sits. Always carry a spare battery or external power bank.
5. Keep Weight in Mind
Most quality thermal scopes weigh between 400-700 grams. Anything over 800g will noticeably affect your rifle's balance. For walk-and-stalk hunting, lighter is always better.
Common Beginner Mistakes to Avoid
- Don't buy based on detection range alone — manufacturers test in ideal conditions with large targets
- Don't ignore refresh rate — a scope with 9Hz will look choppy when scanning. Choose 30Hz or higher
- Don't forget local regulations — some countries restrict thermal scope use for certain species
- Don't skip dioptre adjustment — calibrate the scope to your vision before heading into the field
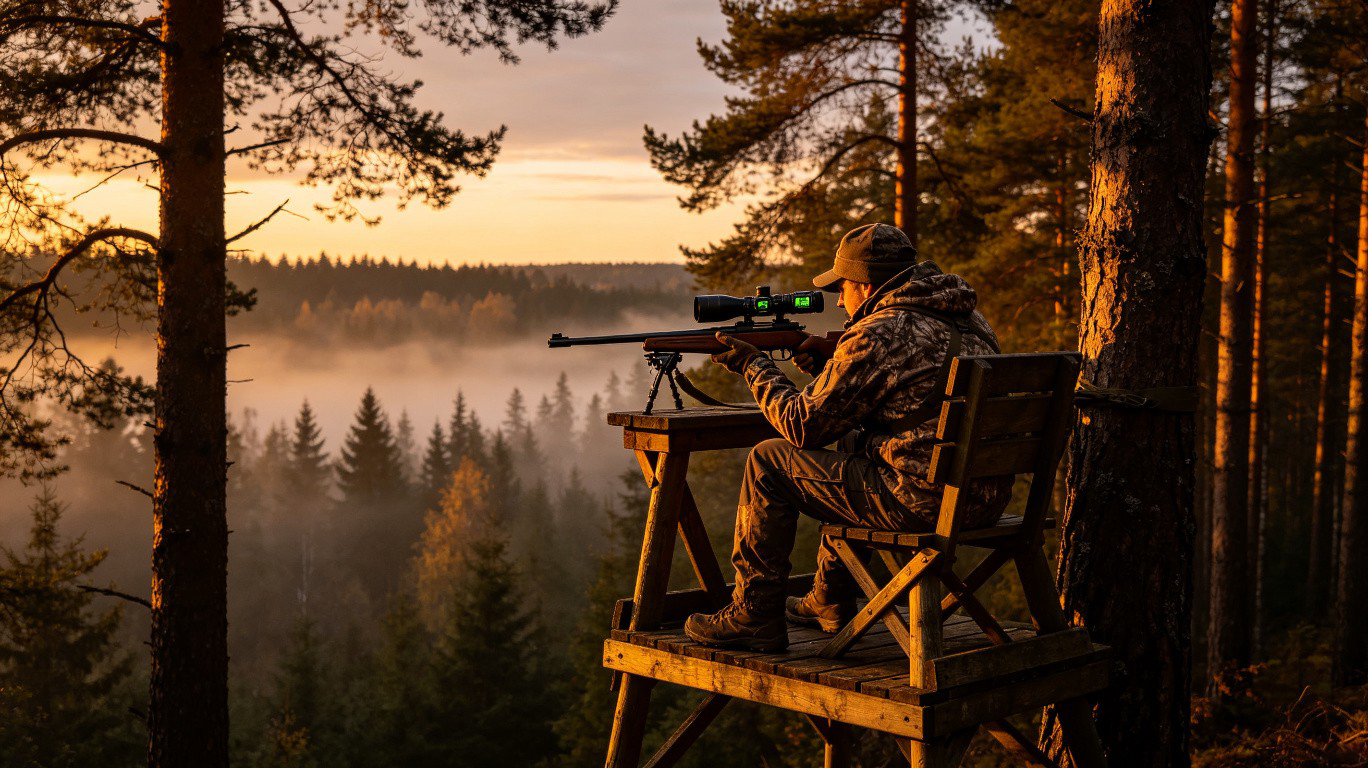
Figure 5: A thermal scope on your rifle means you're ready from the moment you climb into your high seat
Ready to See in the Dark?
Whether you're hunting foxes in the English countryside or tracking wild boar in the Black Forest, Owlshine thermal scopes are built for European hunters who demand reliability, clarity, and value.
Explore Owlshine Thermal Hunting ScopesFrequently Asked Questions
A: No. Thermal imaging detects heat on the surface of objects — it cannot penetrate solid barriers like walls, thick tree trunks, or the ground. However, it can detect heat through light obscurants such as fog, light rain, smoke, dust, and thin vegetation (grass, leaves, small branches). This is why thermal excels in foggy and misty European hunting conditions.
A: Yes, absolutely. A thermal scope functions in broad daylight just as well as at night. However, during the day, many hunters find thermal can be less effective than regular optics for identifying animals at long range, because thermal shows heat signatures rather than fine visual detail. Most hunters use thermal primarily at night and switch to a traditional riflescope during daylight hours.
A: Detection range depends on sensor resolution, lens focal length, weather conditions, and animal size. As a realistic guide: a 384x288 scope with a 25mm lens can detect a deer-sized animal at 200-350 metres. A 640x512 scope with a 50mm lens extends that to 500-800 metres. In rain, fog, or extreme cold, these ranges will vary.
A: Regulations vary significantly between European countries. In many countries (including the UK, Germany, France, and most of Eastern Europe), thermal scopes are legal for pest control and predator hunting. However, some countries restrict or prohibit their use for certain game species (such as deer). Always check your local hunting regulations before purchasing or using a thermal scope.
A: For beginners, a thermal monocular is often the smarter first purchase. Monoculars are lighter, more affordable (typically €300-€800), and can be used both as a handheld scanner and as a clip-on attachment in front of your existing daytime scope. Once you've gained experience, you can upgrade to a dedicated thermal riflescope.
A: Yes, but far less than it affects night vision. Heavy rain can slightly reduce detection range. Extreme cold actually improves performance because the temperature contrast increases. Fog and light mist have minimal impact — this is one of thermal's biggest advantages over night vision.
A: Most modern thermal scopes offer 4-8 hours of continuous use on a full charge. Premium models may include hot-swappable battery packs. For all-night hunting sessions, always carry a spare battery or a compatible external power bank.